arched color-block DIY
I’ve recently become obsessed with stenciling and tracing! It’s cheaper and easier to do than wallpaper, you can do it on any kind of textured wall, and you can use any color you want!! You don’t have to be a math genius for these ones, and you don’t have to use a whole roll of tape to trace it out. Trust me, if I can do it, so can you! I’m not a big DIY or crafting girl. I’m a big believer in out-sourcing if something isn’t in your skill set. But this is SO satisfying and fun for me. And I’m not kidding, I got these done in probably an hour!!
This is what you need;

Pencil
Level
Measuring tape
Blue tape
Paintbrush (an angled one would be easiest but not a must)
A sample size of your paint of choice (I got mine from Miller Paint. Home Depot and Ace Hardware can make them too. Should be around $5)
A piece of cardboard
Measure the length of the spot you want the arch. Trace a half circle onto the cardboard and cut it out. I just eye-balled it.. Then trace it onto the wall with pencil. You could do just half the wall, but I did it floor length for behind my bookshelf!
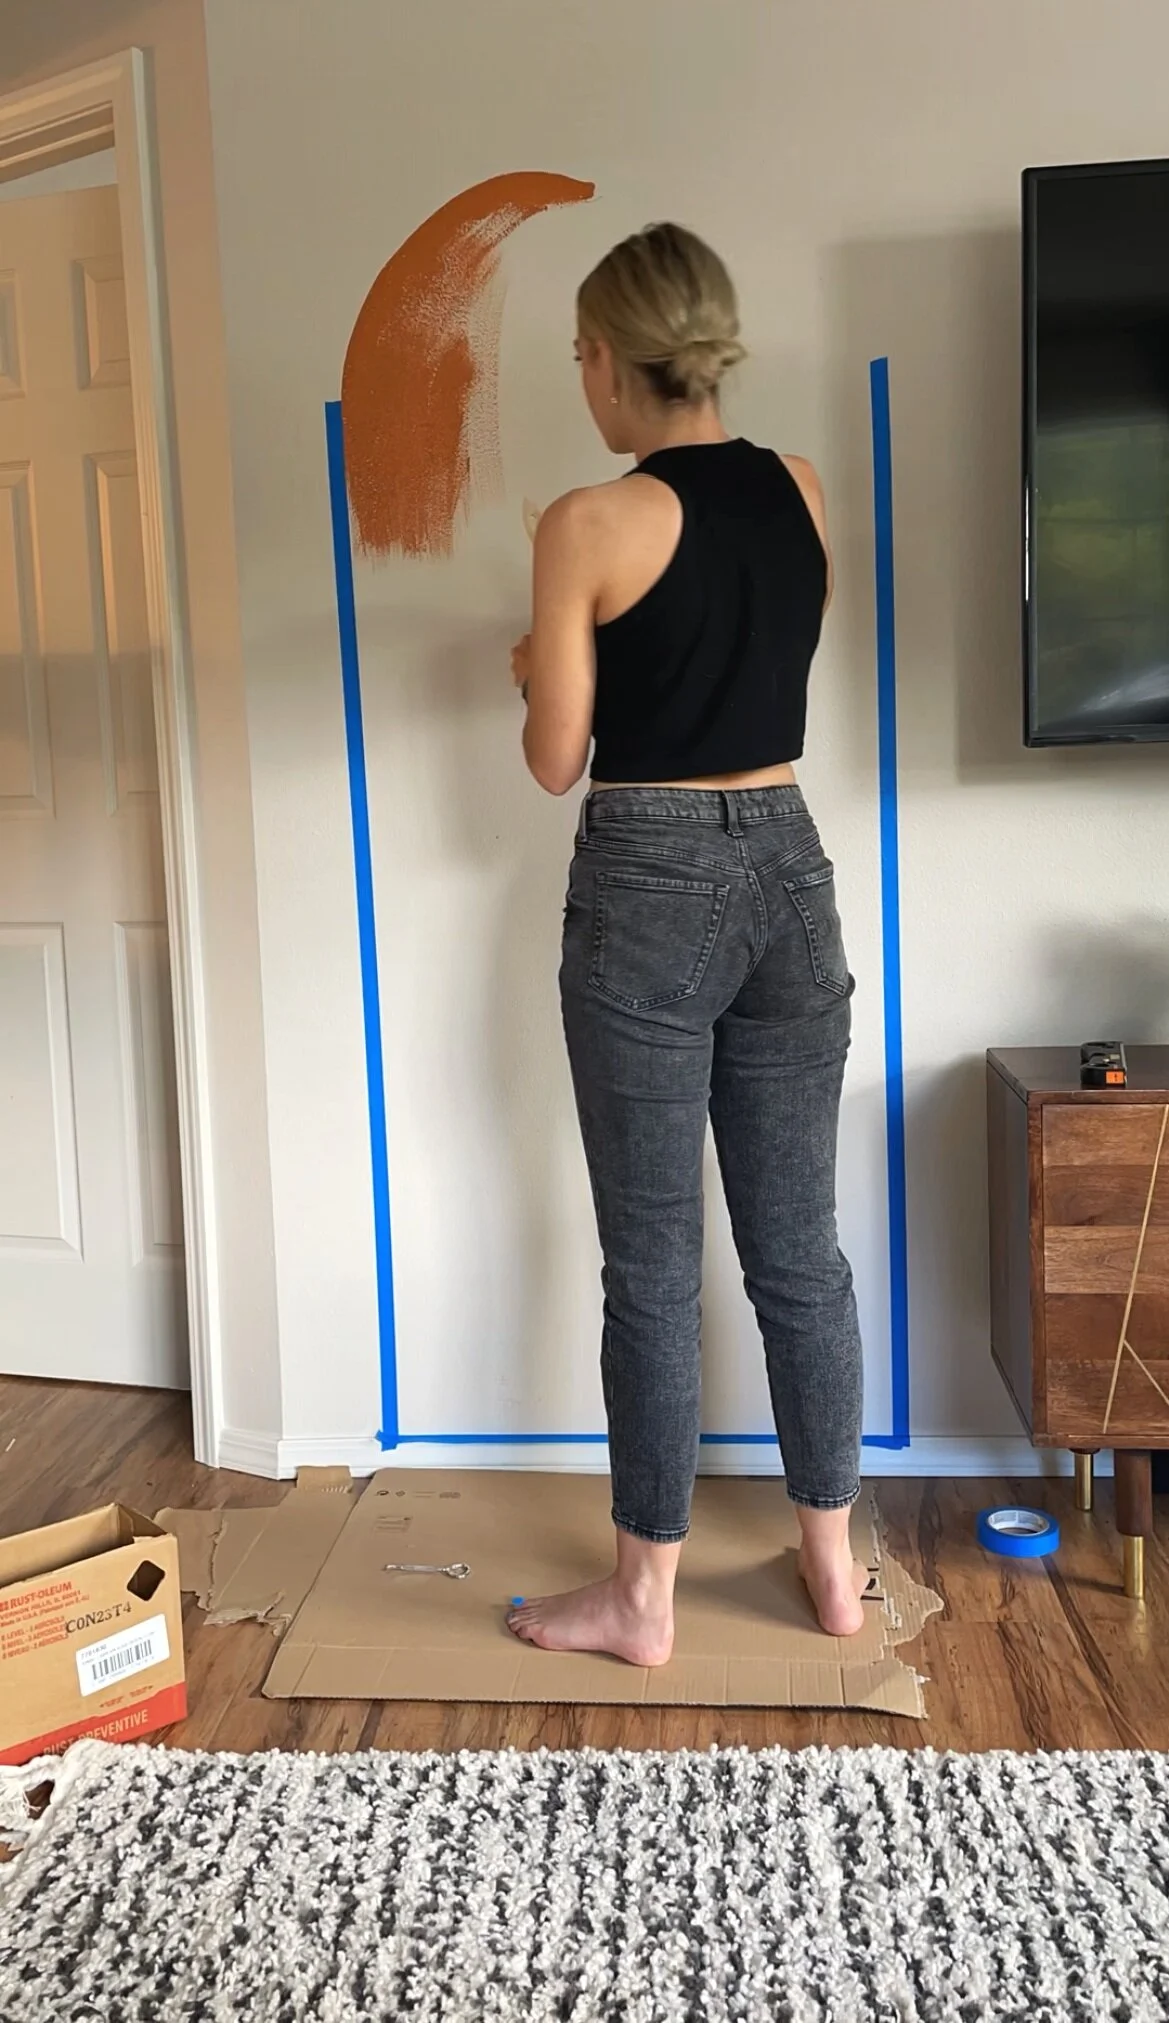
Use the level and tape, and take it down the wall to your desired length. The level will help you make sure it’s straight. Really press down the tape to avoid bleeding through. Take your time with painting along the pencil line, this is where an angled brush come in handy! And honestly, that’s it! Here is the before and after.
BEFORE

AFTER

It was cute before, but the color block makes such a statement! It took my cheap Ikea bookshelf and made it so much more significant in the room. Plus it really makes my plants stand out! You can watch the process on my Instagram highlight called “Stenciling”. Tag me in your projects!! I want to see the amazing transformations!
xo