painted accent wall

Another super easy painted accent wall idea! I love this for smaller walls, but you could scale up for bigger walls! Honestly.. I totally winged this. I did not measure it out perfectly, but that’s what I love about this pattern, it doesn’t have to be perfect!
Things you’ll need;
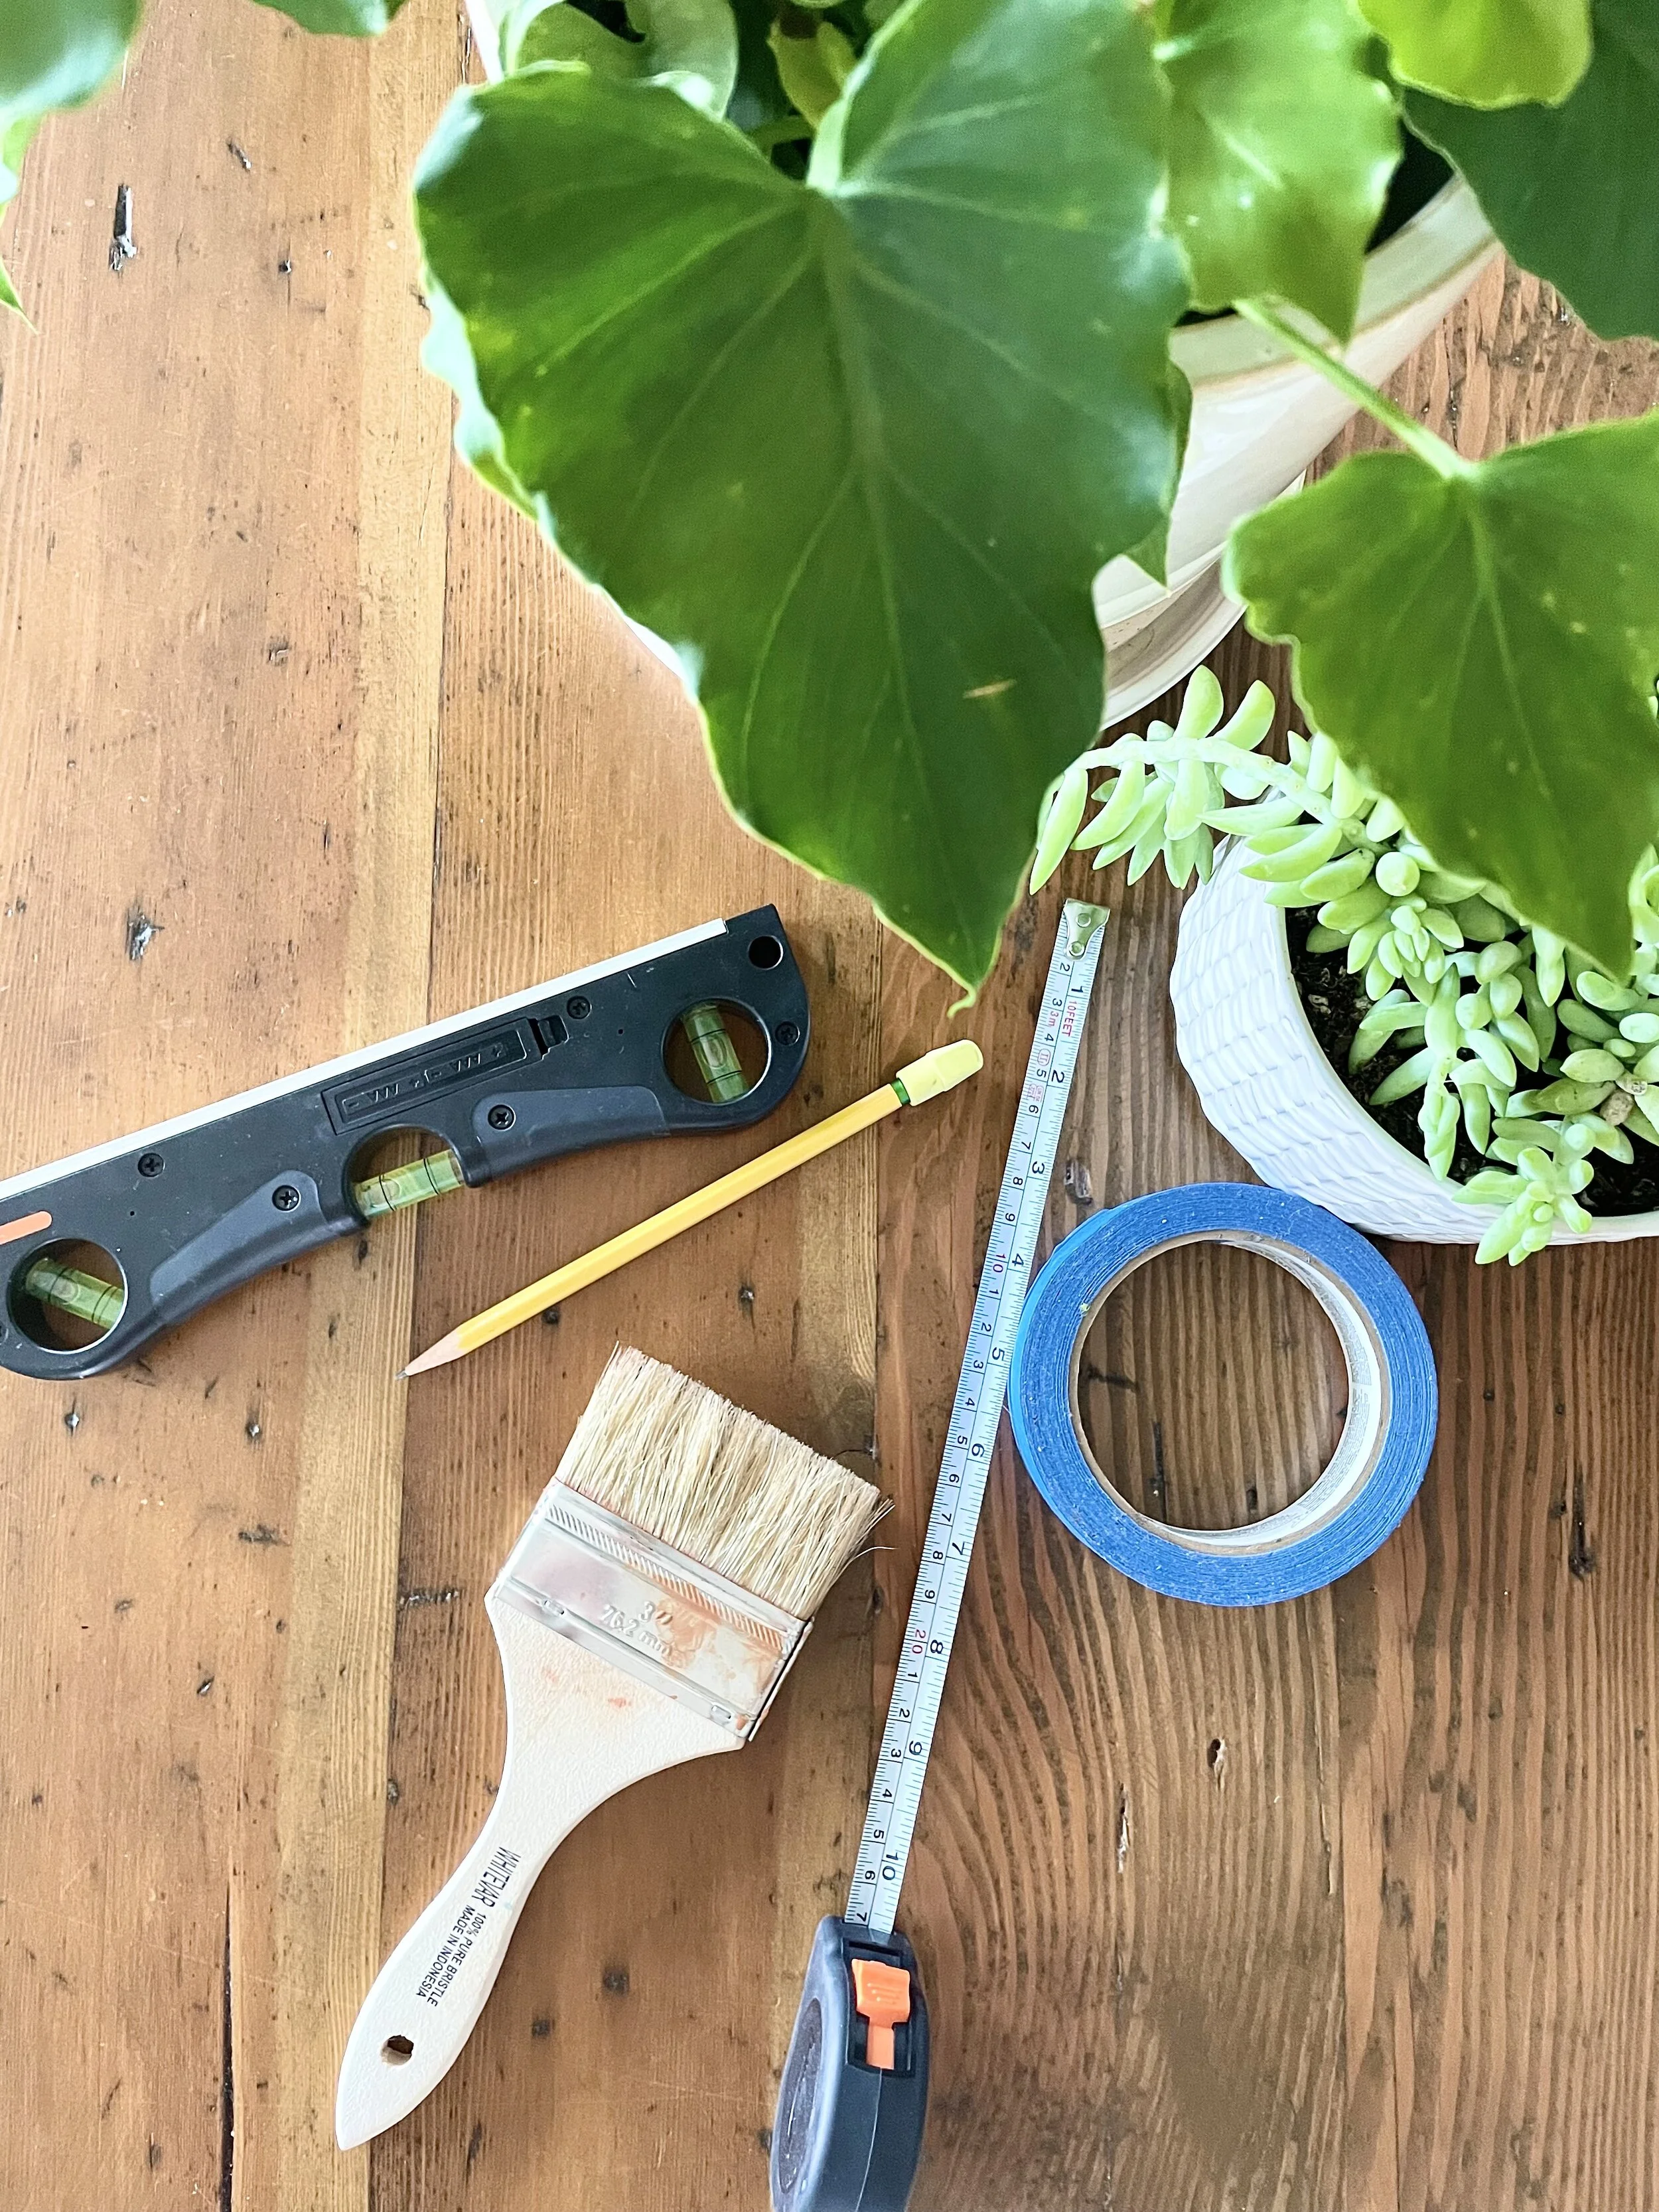
Pencil
Level
Measuring tape
Blue tape
Paintbrush (an angled one would be easiest but not a must)
A sample size of your paint of choice (I got mine from Miller Paint. Home Depot and Ace Hardware can make them too. Should be around $5)
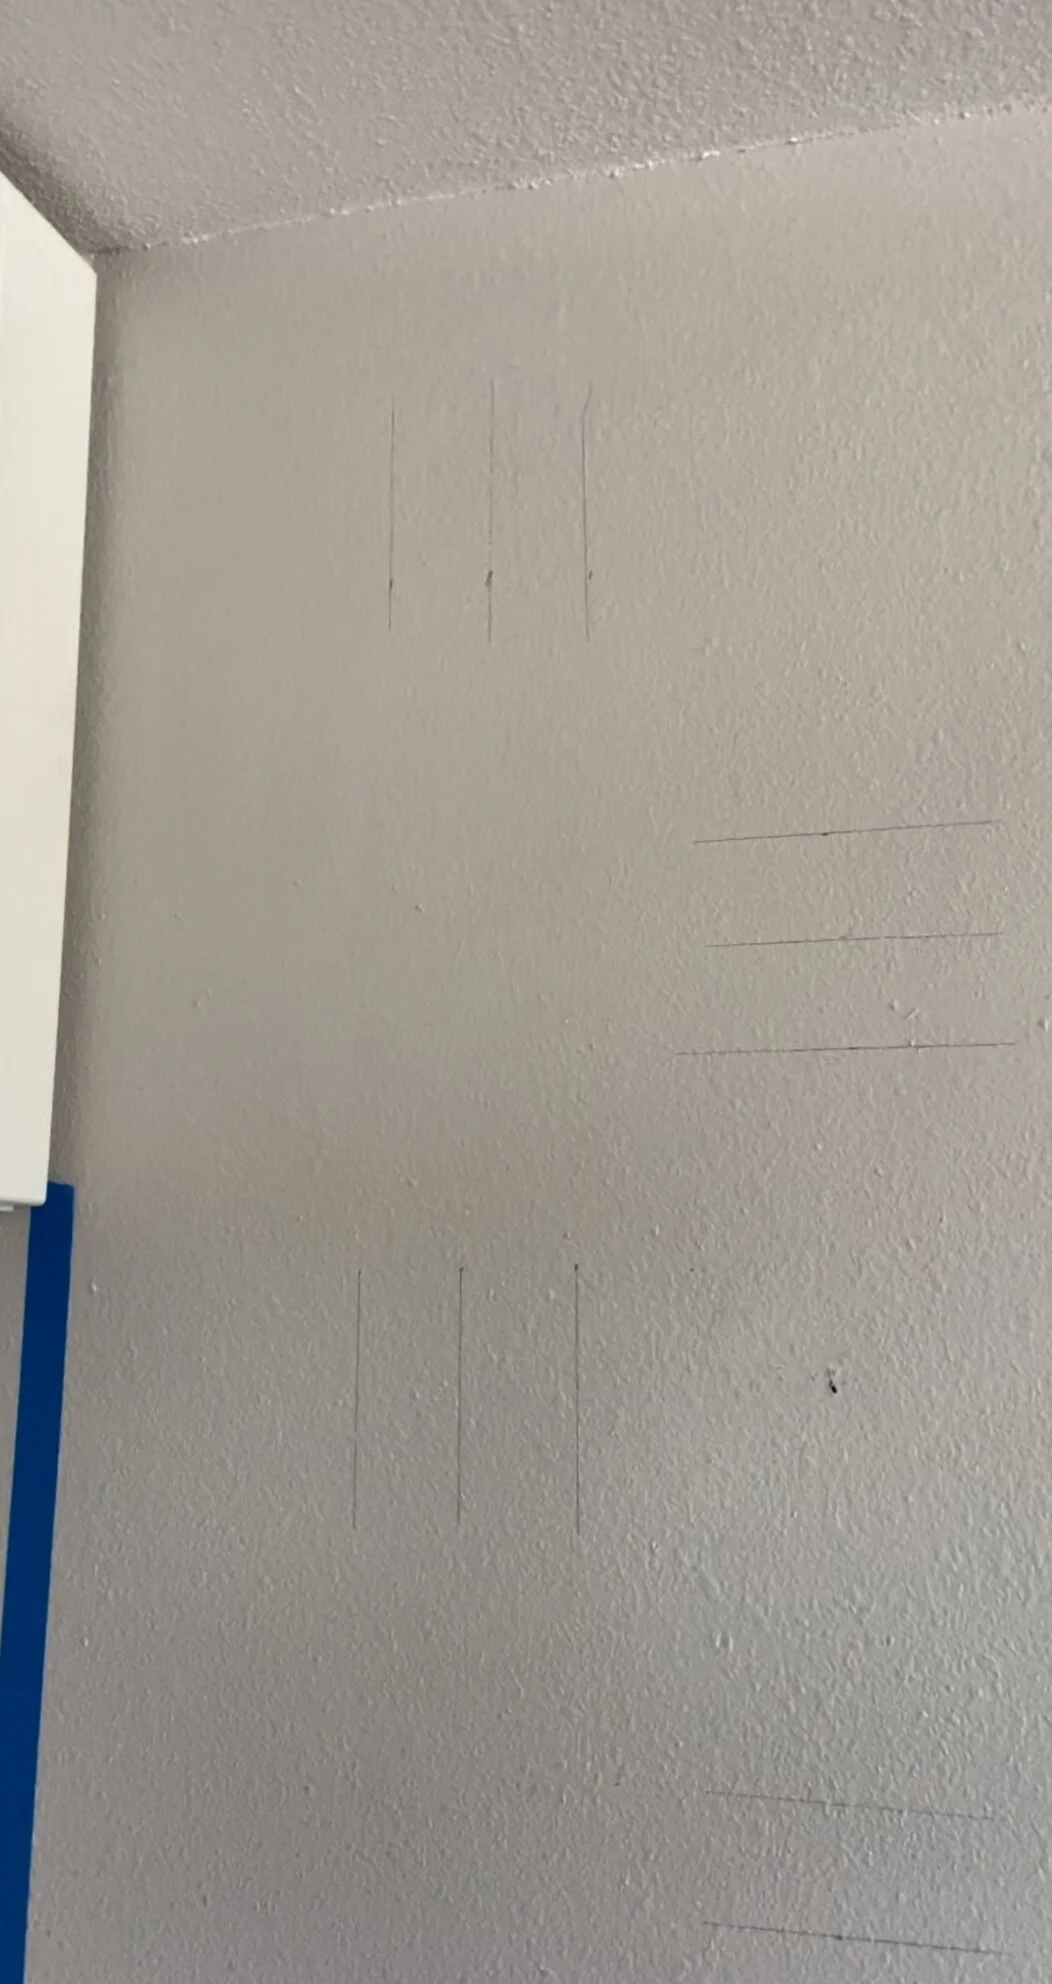
So I started at the top, and measured about four inches down from the ceiling. Then I started by finding the middle of the wall and traced my first pencil line. Use the level to get a straight line. I measured two inches apart from that line, on each side of it, and drew those. Then I found the middle of the space on each side of that.. and did the same thing. For the next row down I switched the pattern. I measured 4 inches down from the bottom of my first row. And just drew them in the middle of pattern on the top row.. lol I hope this makes sense. I repeated this pattern down the whole wall. There’s maybe one inch more space between the last row and the floor, than the top row and the ceiling. I think this would be more noticeable with a larger scale pattern, so a person could measure to avoid that… I was not that person. My Dad is somewhere cringing right now.
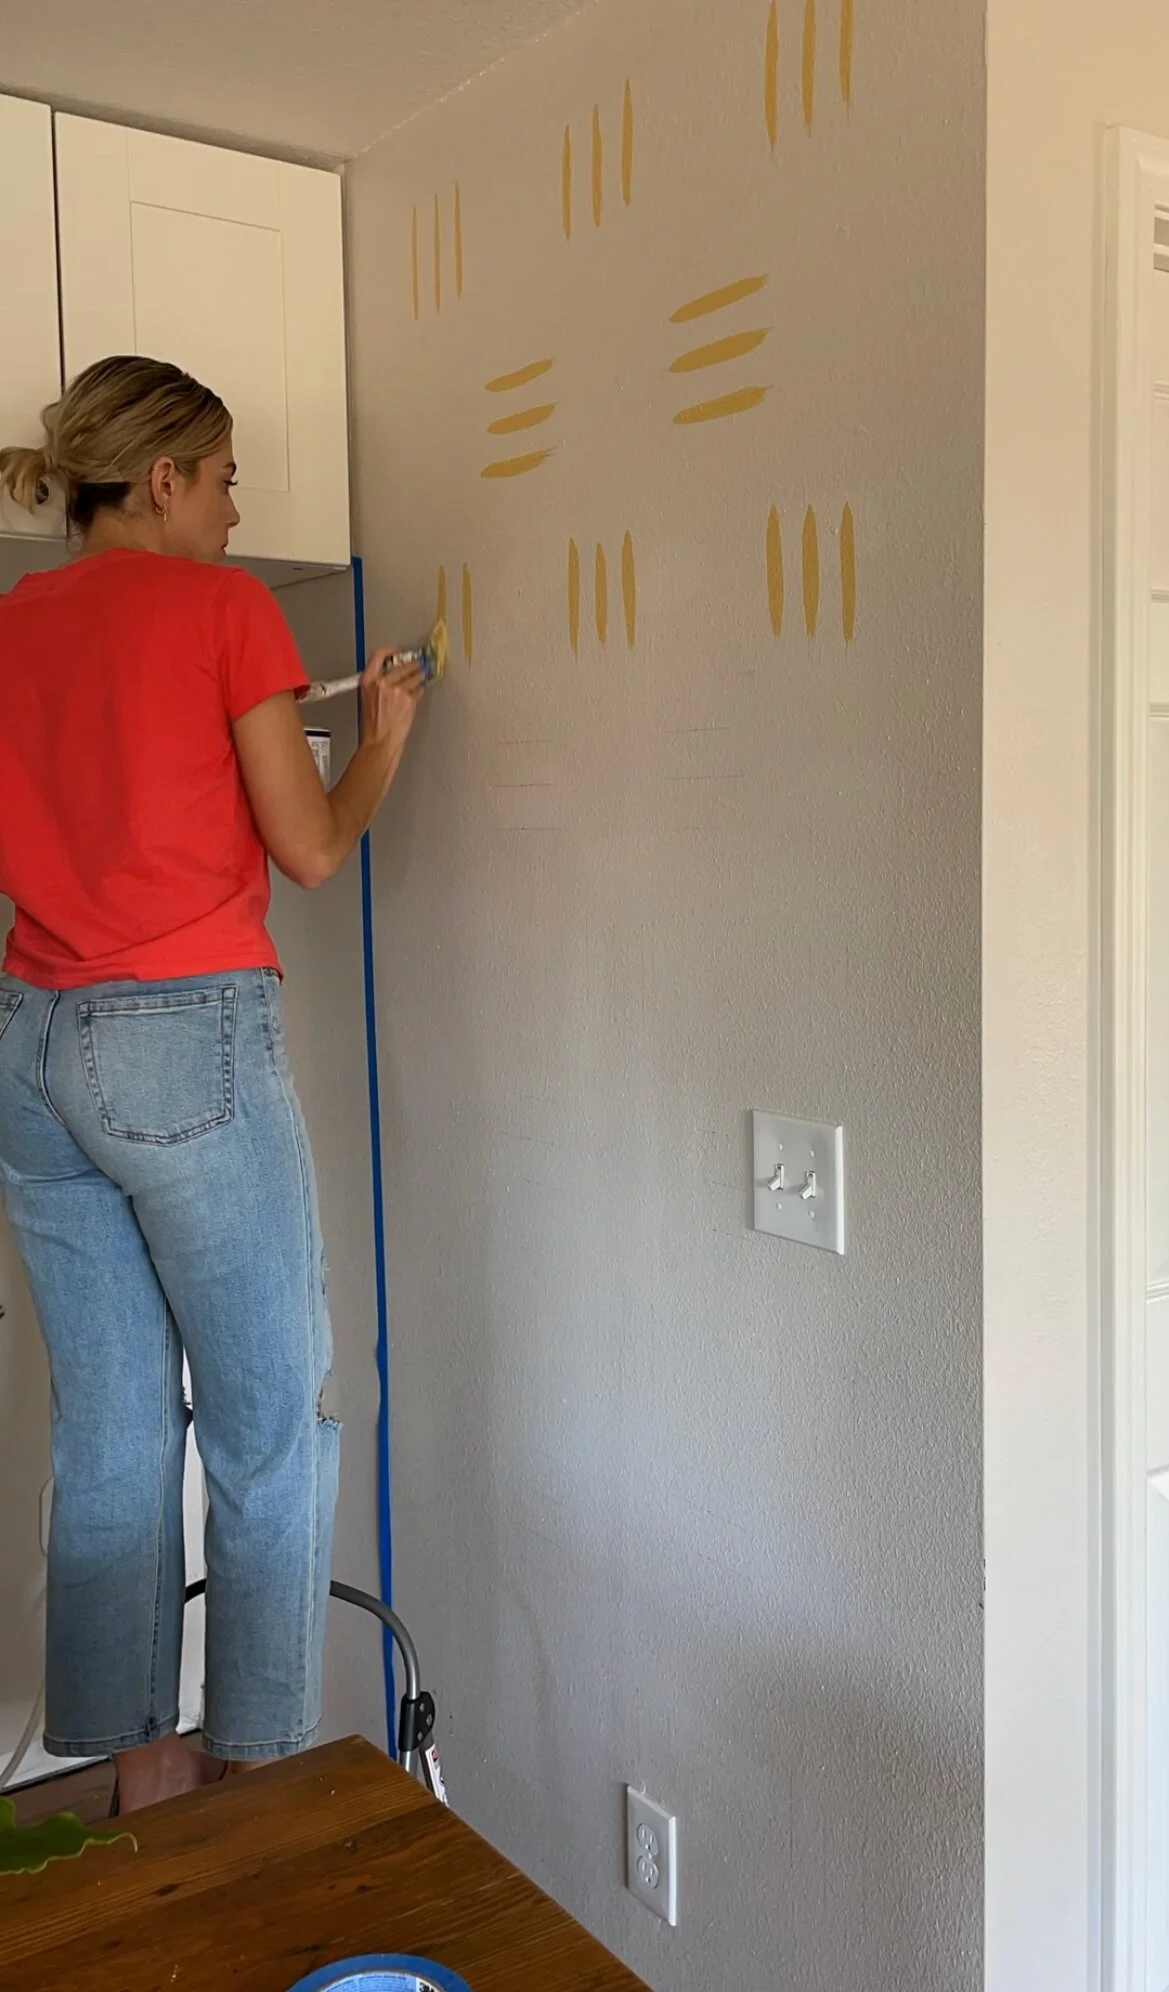
Then I literally just painted over the lines! That’s the fun part and goes super fast! I love the unstructured look. Actually.. unstructured is a pretty good way to describe my home.
Here is the before and after
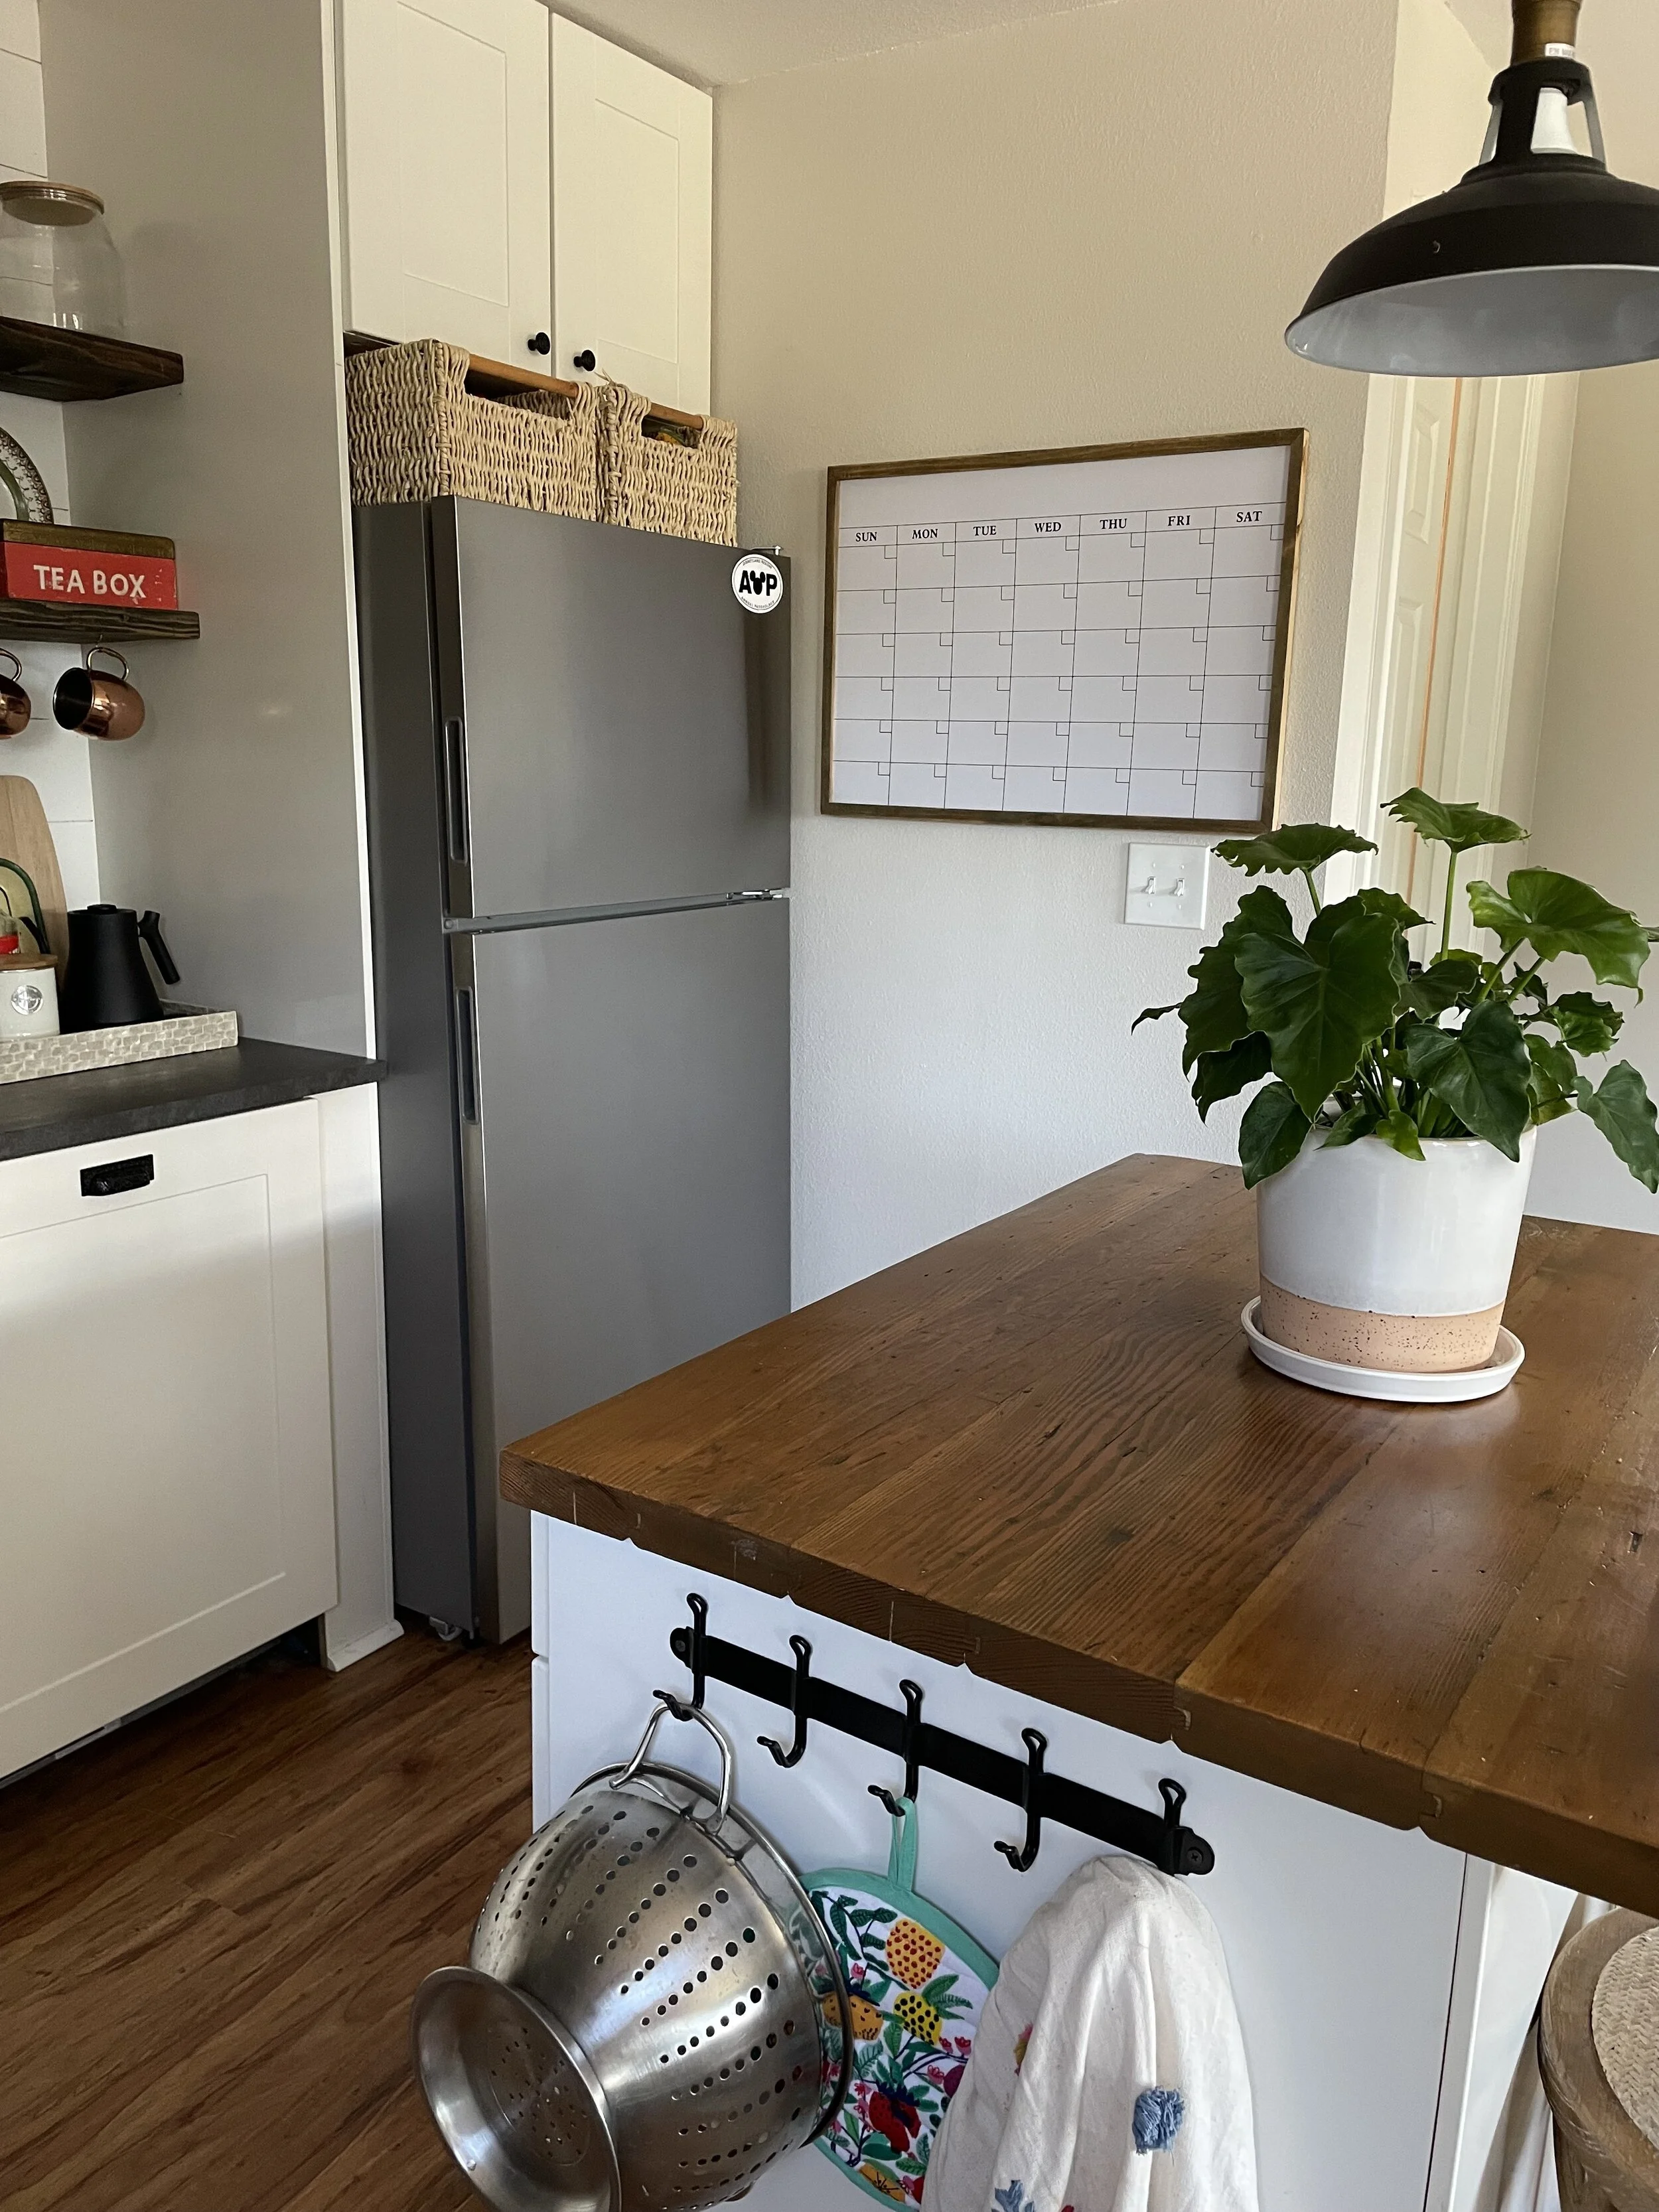

It added so much character to this side of my kitchen! I realize now looking at the space that everything in there goes all the way to the ceiling. The cabinets and the shiplap behind my open shelves. So it only makes sense that the empty wall has an accent that’s the full length of the wall.
If you need help picking an accent wall, shoot me a message I’m happy to answer all your questions!!