rainbow nursery
This is one of my favorite projects I’ve been able to participate in! The rainbow is definitely the focal point and it’s SO simple. I’ll walk you through our process from start to finish.
As always, I start with the design board or E-Design. After I’ve taken initial pictures and measurements of the space, I start by adding in the furniture they have or want to keep, and pull everything together by adding in the finishing touches. Things like the rug and wall decor. In this case, they already had a crib, rocking chair, and curtains. Here is how the design turned out;
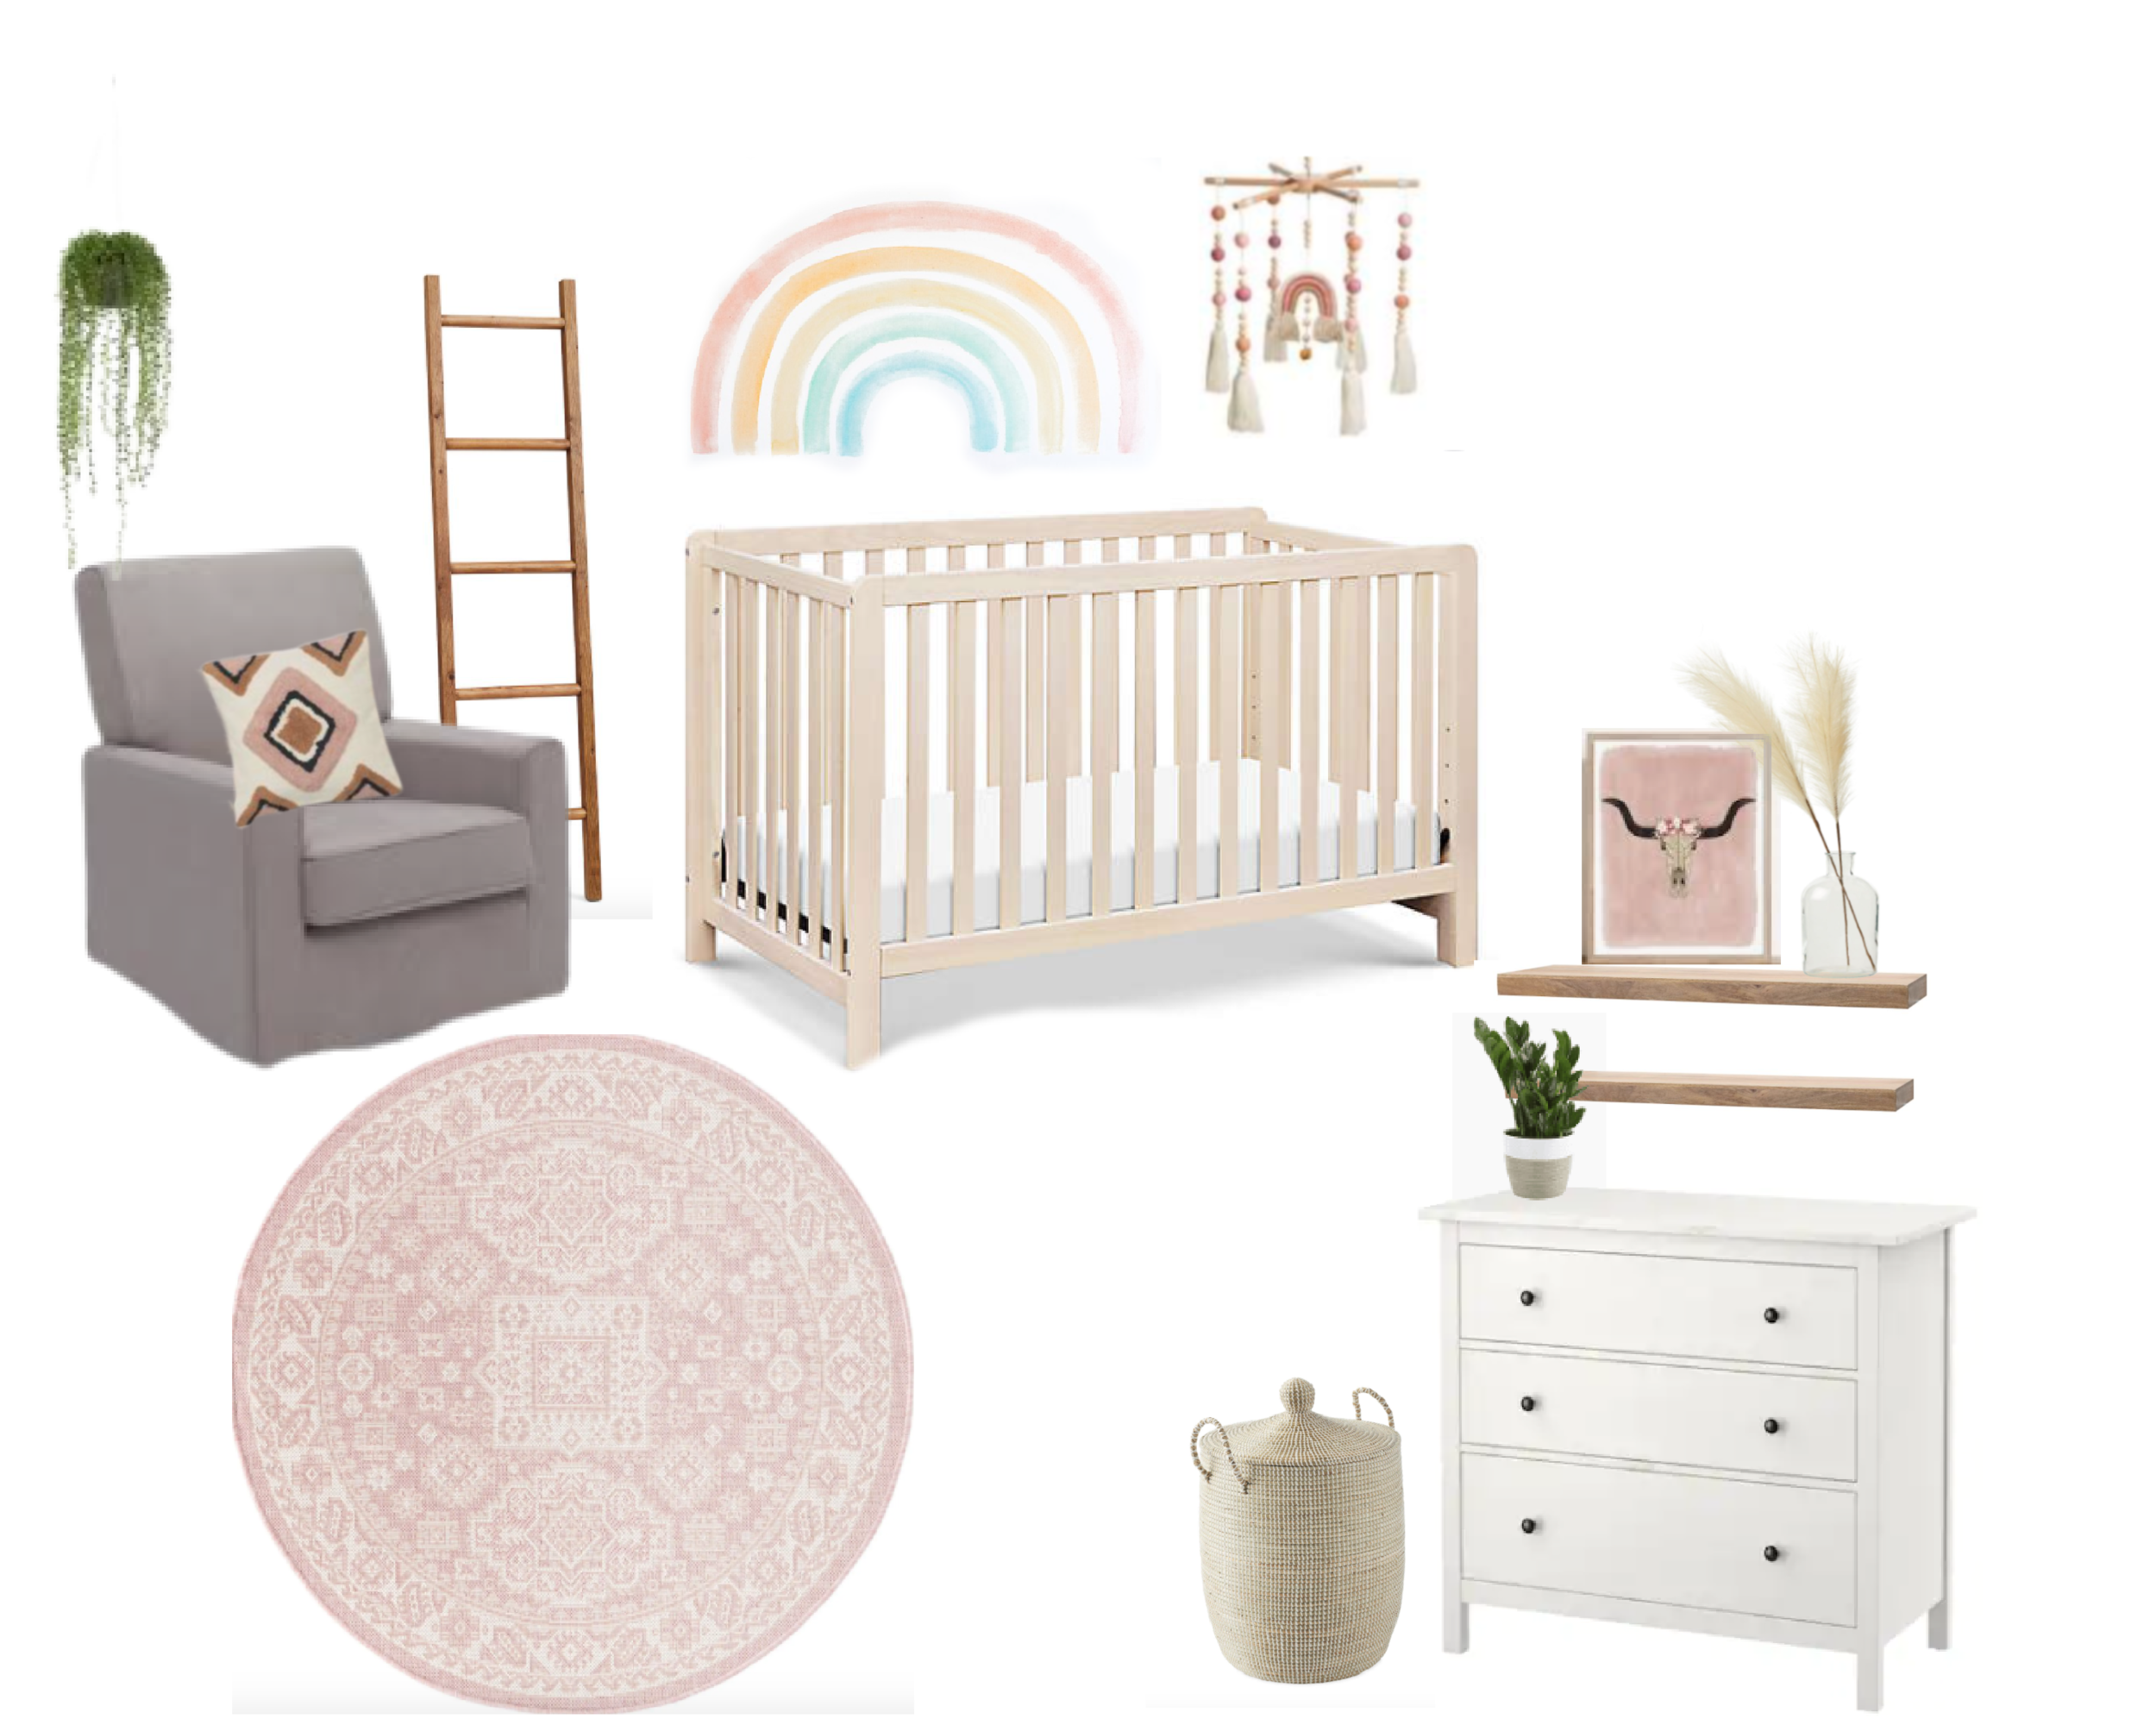
In projects like this one, the design really serves as inspiration. So I can still shop locally, and if my client wants to do their own shopping they know what to look for.
Now, the rainbow;
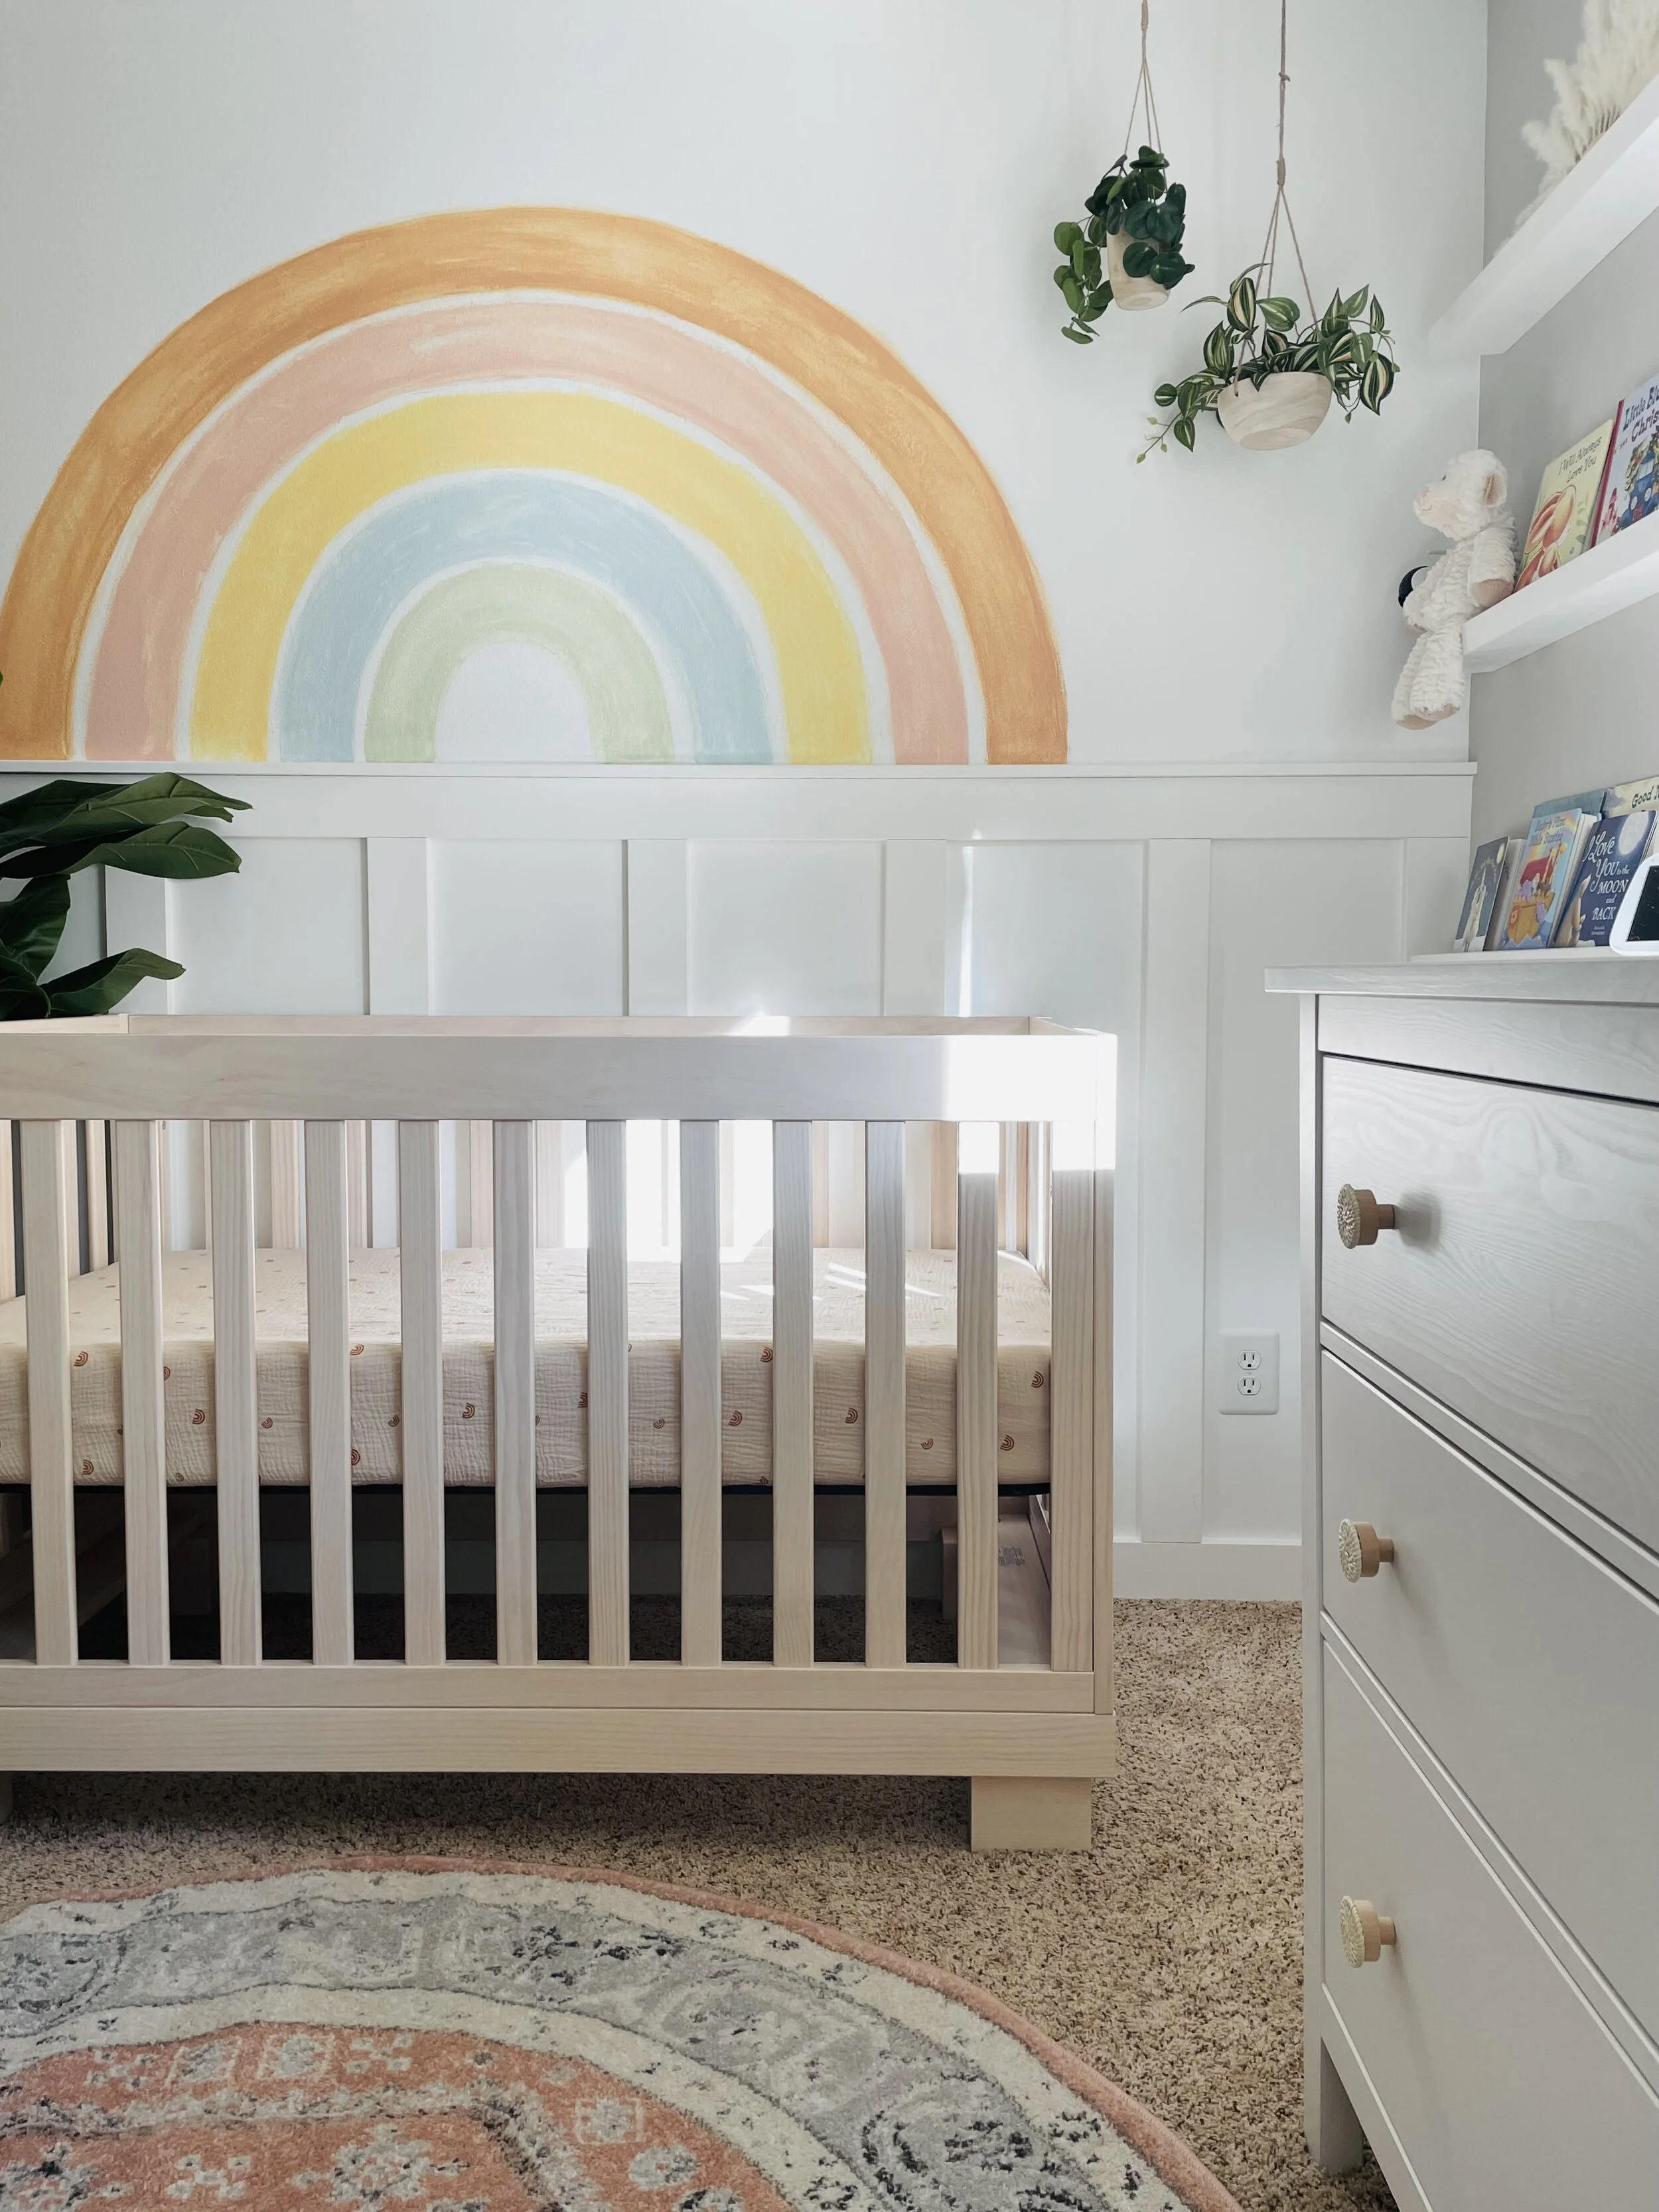
So Pottery Barn has this rainbow decal that I’ve come across several times, and LOVE. But.. It’s over $400. I’m a big believer in quality products.. but I knew I could do this on my own, and you guys know how I feel about stenciling and painting.
You just need small samples of paint, most places they’re $5-$7. These were Behr from Home Depot. The colors we used are;
sunken pool
marsh marigold
everblooming
Nairobi dusk
We mixed the blue and yellow to make the green at the last minute.
You need a 4” square paintbrush, a pencil, and some string. Make sure to mask off any trim and use a drop cloth or sheet. I made it simple by finding the middle of the wall, figuring out how big the rainbow needed to be, placing my string there, and drawing an arch with the pencil. I followed the line with the first color, and then free-handed from there. I used wet paper towels to give it that “water color” look. Once I used all 4 colors I decided it needed one more stripe, and we mixed the blue and yellow colors to make the green.
And if that doesn’t make sense, I have a highlight on Instagram where I explain it! Lol
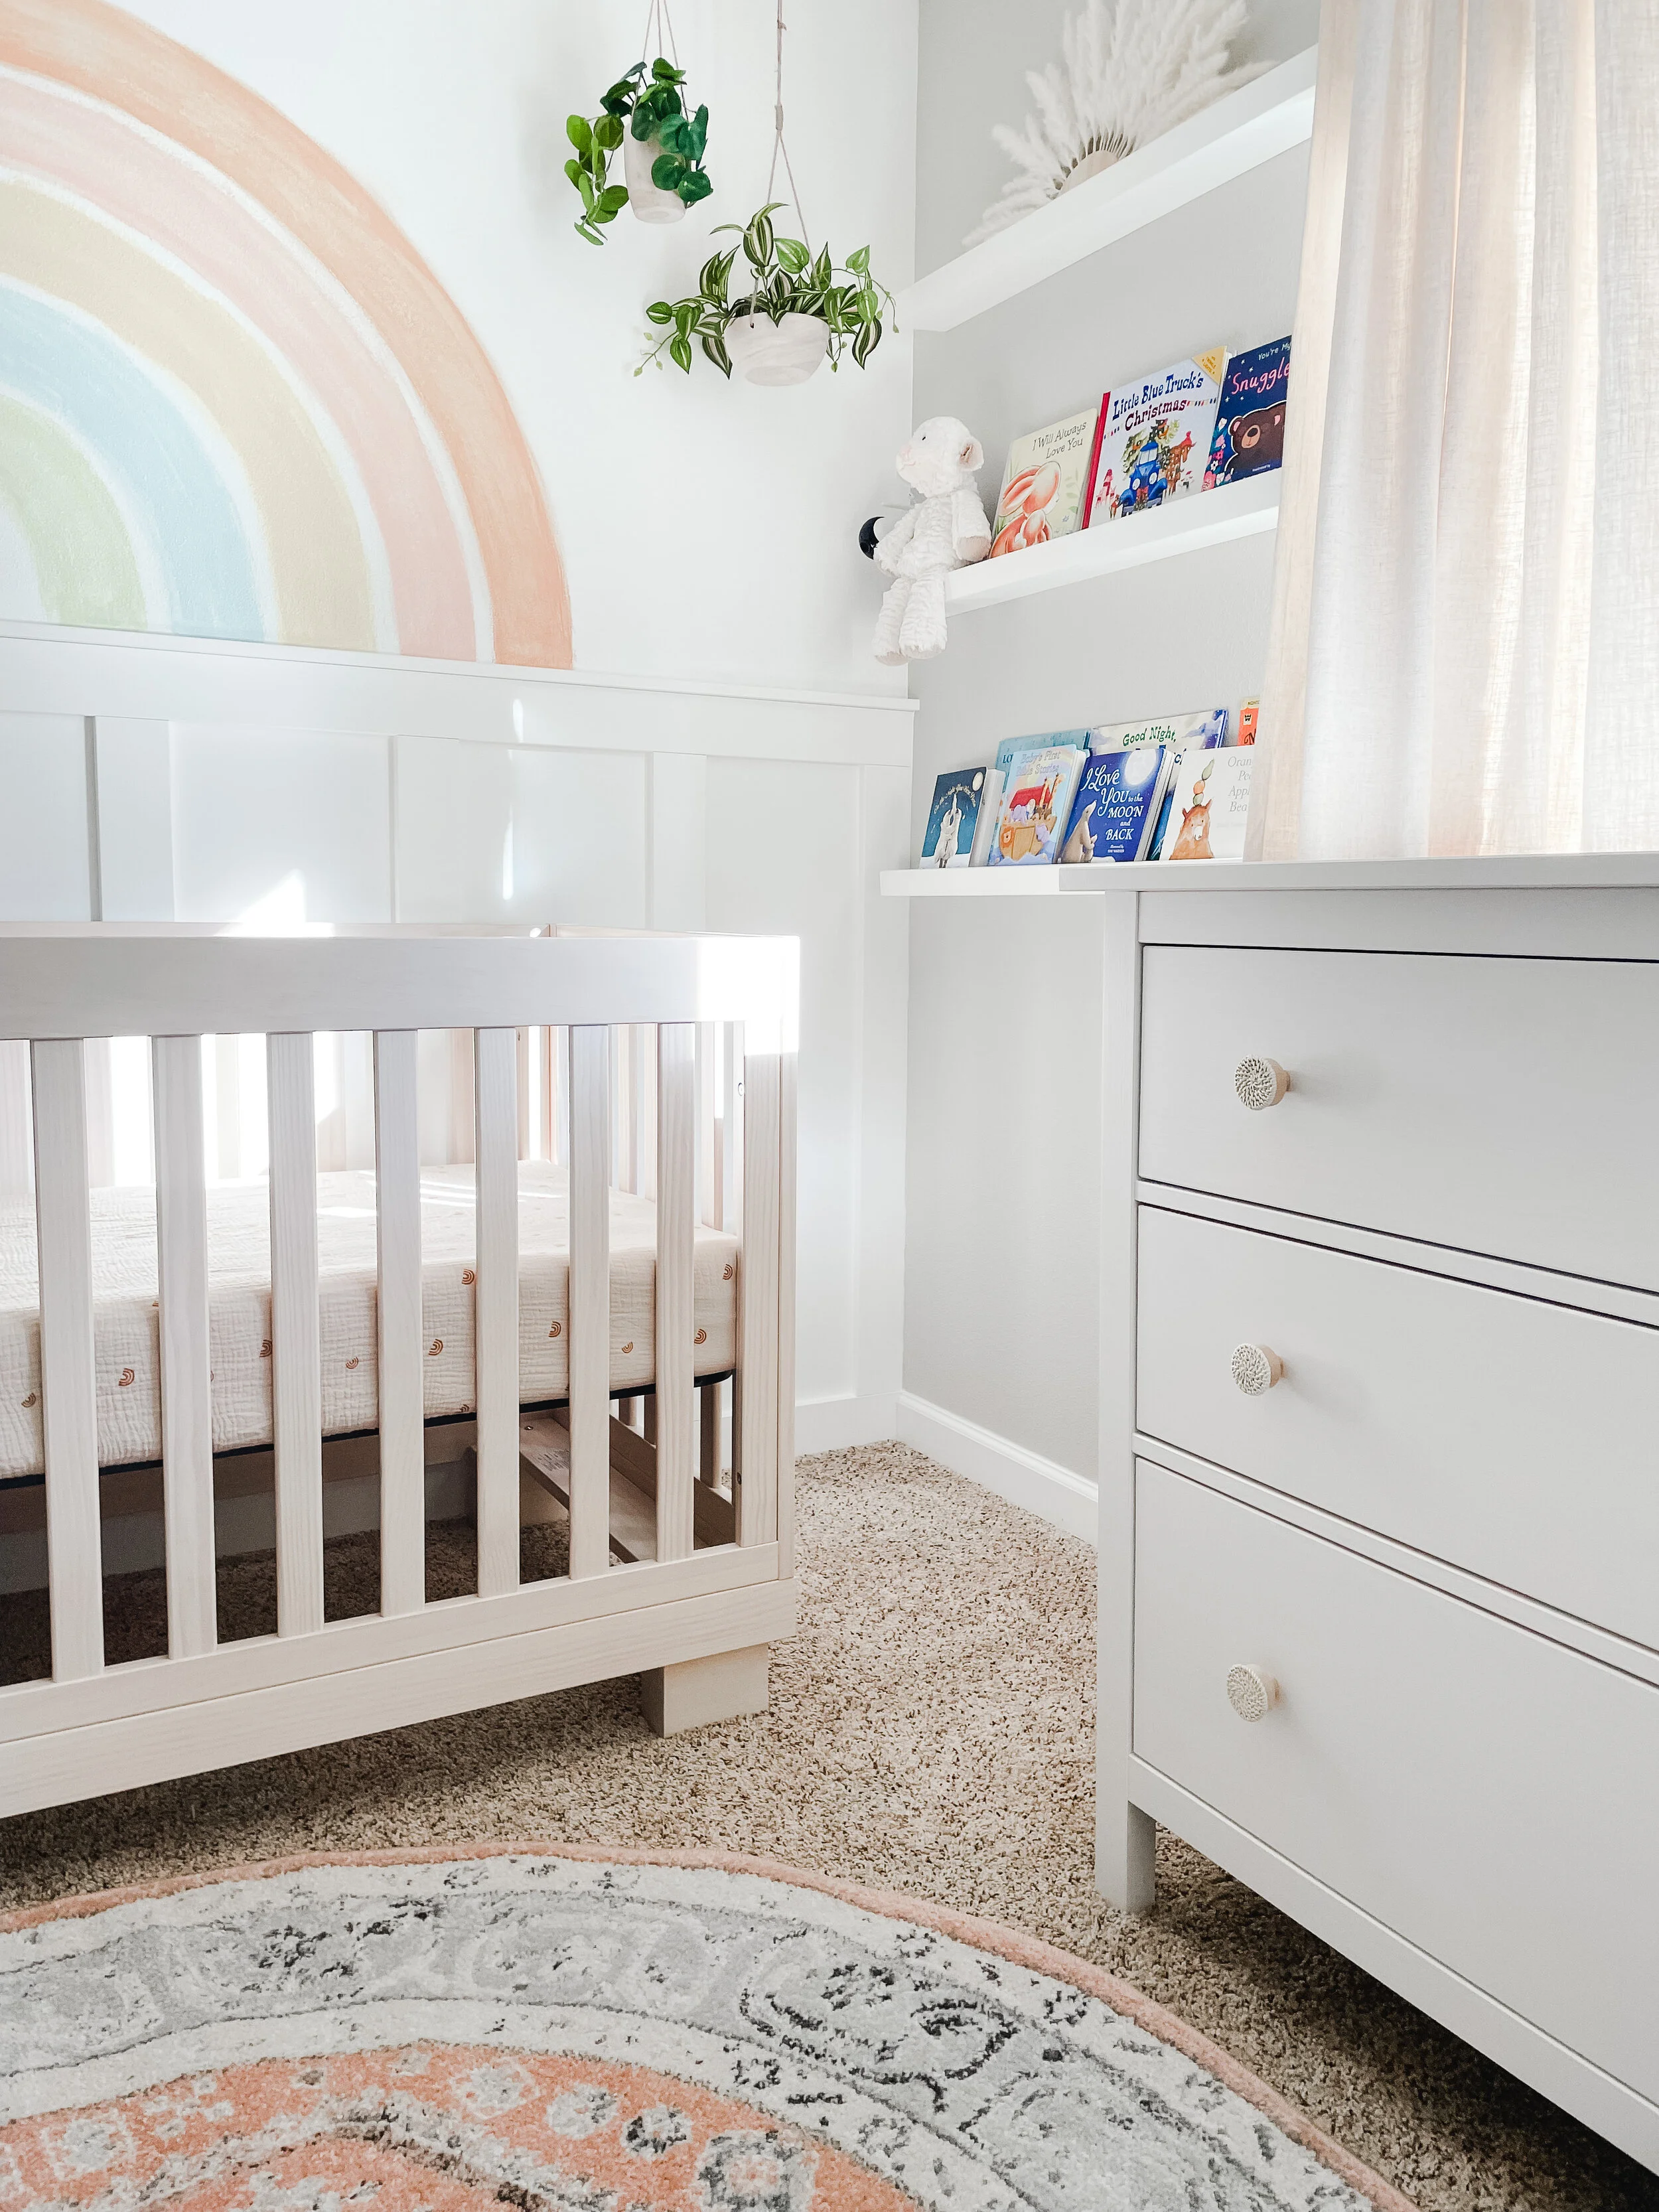
They grabbed new knobs for the Ikea dresser, and they made the little book ledges! It’s all in the details. We just added in the final touches! It turned out so sweet, and I can’t wait for them to get to enjoy it!
xoxo